- Navigate to Azure portal > Services > Azure Entra ID

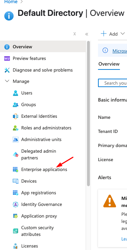
- Click on Enterprise Applications > Create a New Application

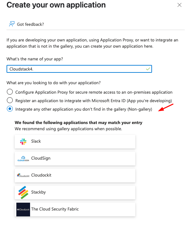
- Click on Create your own Application and provide a name.
Select Integrate any other application you don’t find in the gallery (Non-gallery) > Create

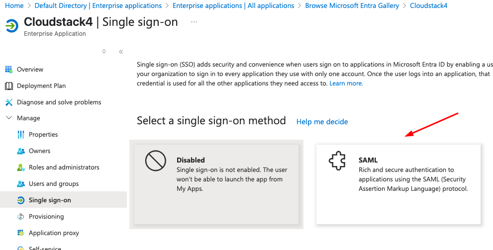
- Once in the Application, click on Set up Single Sign-on and choose SAML

- Make sure SSL is enabled on the Cloudstack management server.
Login to Cloudstack UI > Global settings > Access > Saml and set the following:
saml2.enabled=true
saml2.redirect.url=http://<mgmtip>:8080/client
saml2.sp.slo.url=http://<mgmtip>:8080/client
saml2.sp.sso.url=http://<mgmtip>:8080/client/api?command=samlSso
- Restart the Cloudstack Management service and execute the API to get
the SP Metadata for Cloudstack
https://cloudstack.apache.org/api/apidocs-4.19/apis/getSPMetadata.html
> curl
> [http://\<mgmt\>:8080/client/api?command=getSpMetadata](http://10.0.32.234:8080/client/api?command=getSpMetadata) \>
> metadata.xml
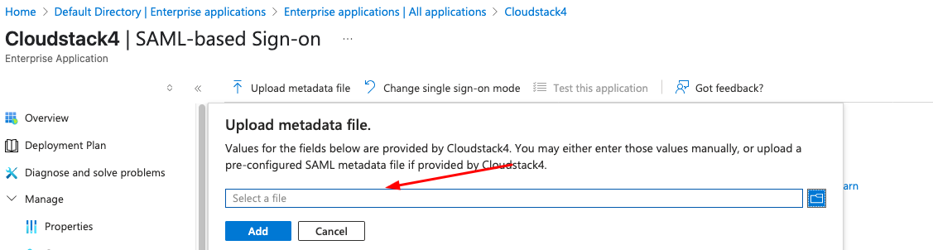
- Upload the generated metadata XML into Azure Entra
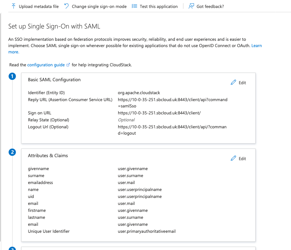
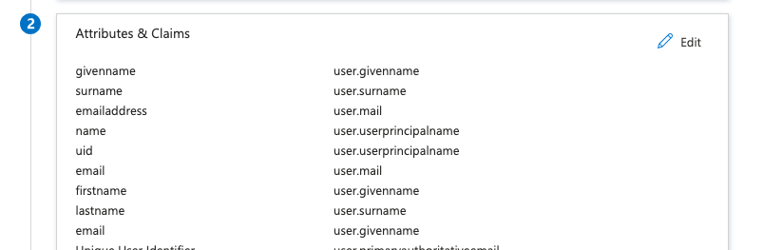
- Navigate to Attributes and Claims, then click Edit.
You can either create a new attribute or copy an existing attribute.
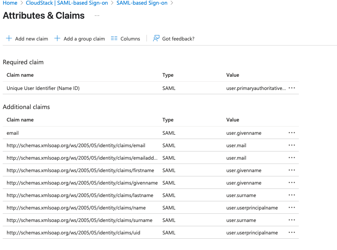
Let the attribute name be:
http://schemas.xmlsoap.org/ws/2005/05/identity/claims/firstname
- Navigate to SAML Certificates and copy the App Federation Metadata URL.
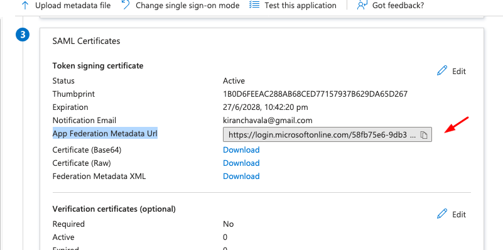
- In CloudStack > Global Settings, populate the values and restart the CloudStack management service.
saml2.idp.metadata.url=https://login.microsoftonline.com/58fb75e6-9db3-4492-b319-a095a08786ce/federationmetadata/2007-06/federationmetadata.xml?appid=024a61e1-afa6-46b1-85da-622aa259f8
saml2.user.attribute=http://schemas.xmlsoap.org/ws/2005/05/identity/claims/firstname
- Go back to the Azure Entra Application, then add an existing Azure user to the application.
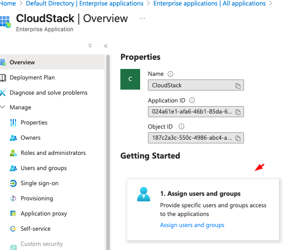
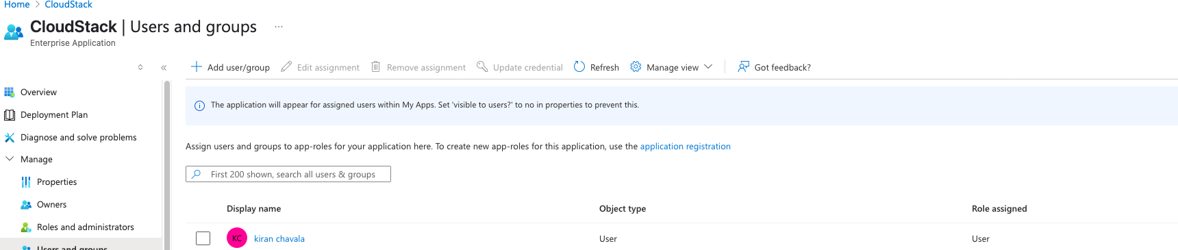
- In CloudStack, create a user account and select the SAML IDP.
The details should be the same as the Azure account.
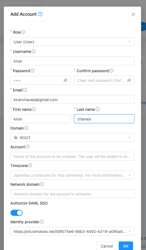
- Login via SAML SSO.
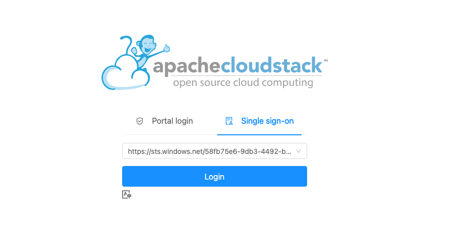
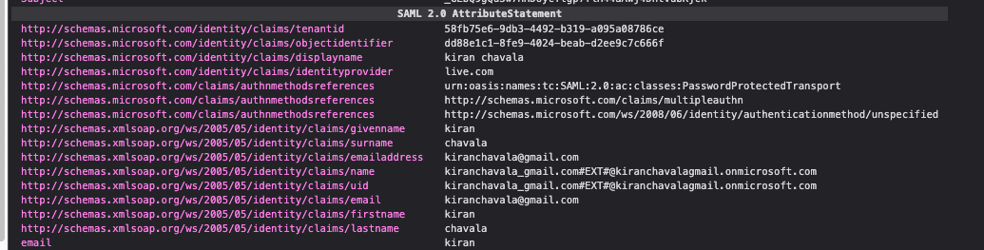
- Test using the SAML Tracer browser extension:
Firefox Add-on: SAML Tracer